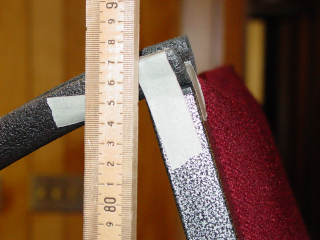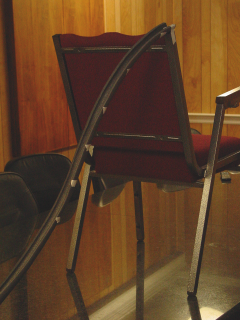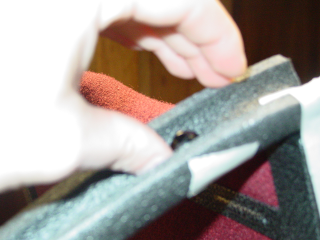

First, mark out on your ramp several heights (measured from
the table), seperated vertically by 10cm. For example: in the sample ramp, the
top is at 85cm, then we placed a mark at 75, 65, 55, 45, & 35cm using
masking tape, so the marks are readily visible.

Next, we need to make several trial runs, so we know where
the marble will land before we put in a target. Release your marble from the
top mark on the ramp, and mark where it lands on the paper you set out in the
initial setup. We're aiming for
repeatability, so you will need to keep releasing your marble from the same
place until you can get (within a couple mm) the marble to land in that spot 3
or 4 times.
If your marble lands in different spots each time, your ramp
may be too vertical (causing the marble to lose contact with the foam), or it
may be swaying when you drop the marble. If your marble is skipping, adjust
the support back to stretch the ramp a bit. If the ramp is swaying, you can
tape the sides where it touches the table. Alternatively, you could support
the back side of your ramp with some books, bricks, or something else similar,
but if you do, make sure that the supports stay constant, because bumping them
will have an impact on the later designed-test run.
Repeat the process for the other height marks you made on
your ramp (ie 75, 65, 55, etc).


 The Shodor Education Foundation, Inc.