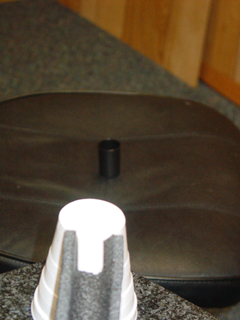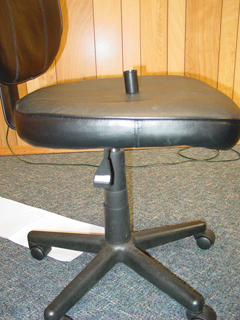
You need to measure the height of the chair, or other
surface, that your target cup is sitting on. Record this in the T
cell on your Data Table. Switch back over to the ProMotion window, and enter the
new 'Land Y' as the 'height' of the chair. You also need to decide how far out
you want the chair (within reason). Enter that distance into the 'Land X'
field. Everything else will stay the same as the last time you ran the applet,
so go ahead and click 'New Graph'. Note the computed 'Initial Velocity' on
your Data Table, in the V0
slot under 'Design Data' along with the new landing point,
X1.
Switching again to DataFlyer, use the
blue slider to move the point on the curve till it matches (very closely) the
new computed 'Initial Velocity'. As you move the slider, observe the
coordinate pair listed on the graph at the point you're moving. The
X value is velocity. But, the other half is the launch height!
Once you have the point nearly matching the computed
velocity, note the new height in the H slot under 'Design Data'
that corresponds to the other two pieces of information already recorded. It
is possible that you picked an X1 that is too far out,
in which case you will need to repeat the above procedure, moving the 'Land X'
closer.