Using XChat on Windows
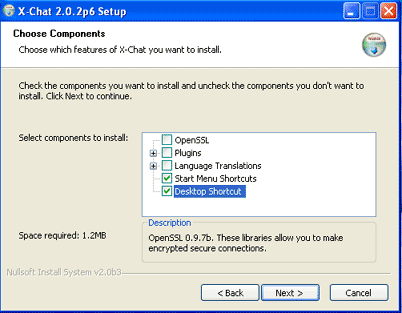
- Install XChat using the downloaded installer program. You can turn off the other installable options, such as "OpenSSL" or Perl scripting.

- Open up XChat
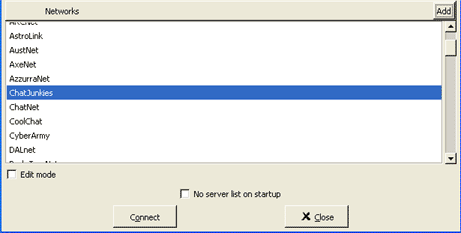
- The window that opens up next is the XChat server list. Under Global user info, change your Nickname to something else that uniquely identifies you. This will be your IRC handle, and what other users will see when you chat (e.g. your screenname). The columns to the right are alternate nickname entries, in the event your first one is taken.
- Directly under the global user info box is the Networks list. On the top far right of this box is an "Add" button. Click on it, New Network should show up.

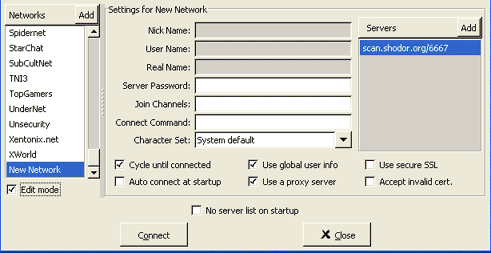
- At the bottom of the Network list click on Edit mode. The network list will shrink and you can now edit the properties of the selected entry in the network list. On the far right is a server column, and the entry "newserver/6667" should already be there (if not, click on Add). Click on it once to select it, and then click again to put the server entry into 'edit mode'. Change the entry to scan.shodor.org/6667. You do not need a server password.

- Most of the other default options should be fine, now click on Connect.
- XChat should now connect to our IRC server, and a different window should pop up, with a text entry box at the bottom of the window. Click in this text entry box and type "/join #succeed". You can also join a different channel if you have been given a different one to join.
- After joining the channel, you are now in a specific chat room at Shodor.


